Quick Property Setup
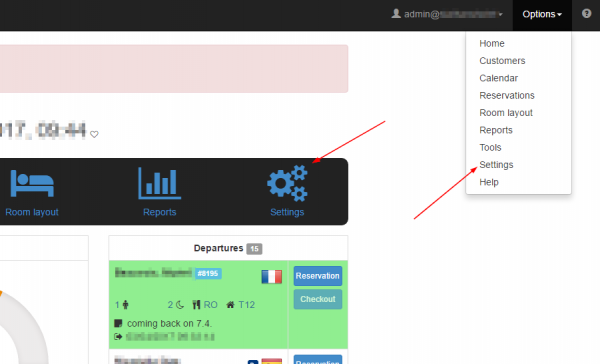
To setup your property go to the settings page. You can access this page from two different locations:
Basic Data
Click 'Hotel information'. Fill in your hotel’s information in this section.
Hotel name: Type the name of your property as you want it to appear in your country (Domestic name) and the international name for your international clients. Select your country and location details and click Save.
Contact details: Fill in your contact details. You can also type another email where you would like to receive copies of outgoing e-mails.
Price list: Choose your Rack rate (This is the official price list for reservations made directly, without any booking agency. This price list also defines the periods that the property is closed. If you don't have any price list yet, create one through the configuration area).
Logos: Upload your logo. Click on the 'Upload' button, select your logo from your files and click OK.
For the e-mail, make sure that your internet domain configuration allows hoteliga mail server to send e-mails on your behalf. Click here for more details.
Regional Settings
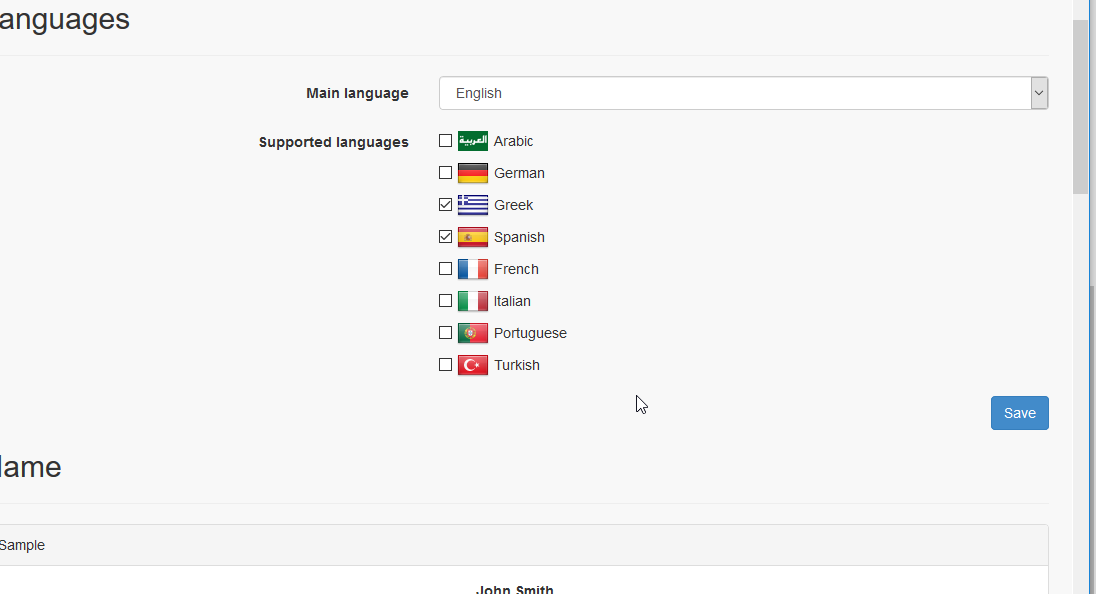
Languages: Select the main language to display on your property account. The next step is to select the supported languages that will be available and to click Save.
Name: Select the way a customer's name will appear on your account and click Save.
Date: Select the way the date will appear on your property account and click Save.
Units of measurement: Select the measurement unit for your property's surface and click Save.


